Ever felt puzzled about how to properly handle your flute? Worried you might damage it before even hitting a single note? Fear not, because we’ve got you covered!
Hi there, I’m Michael, the woodwinds instructor and Faculty Trainer at Sage Music. Thanks for tuning in to this tutorial on assembling, disassembling, and cleaning your flute. By investing your time in reading this, you’re showing a commitment to doing things the right way, ensuring that you handle your instrument like a seasoned pro. After going through this guide, you’ll feel confident in safely managing your flute, leaving you with more time to make beautiful music. While practicing, performing, and enjoying music is paramount, the time spent caring for your instrument is equally crucial for your musical journey. Let’s dive in and add value to your flute experience!
Why Assembling Your Flute Correctly Matters
Beyond impressing others with your flute-handling skills, assembling your flute correctly ensures you won’t inadvertently damage it. Plus, it frees up more time for you to focus on playing the music you love.
Understanding Your Flute’s Parts
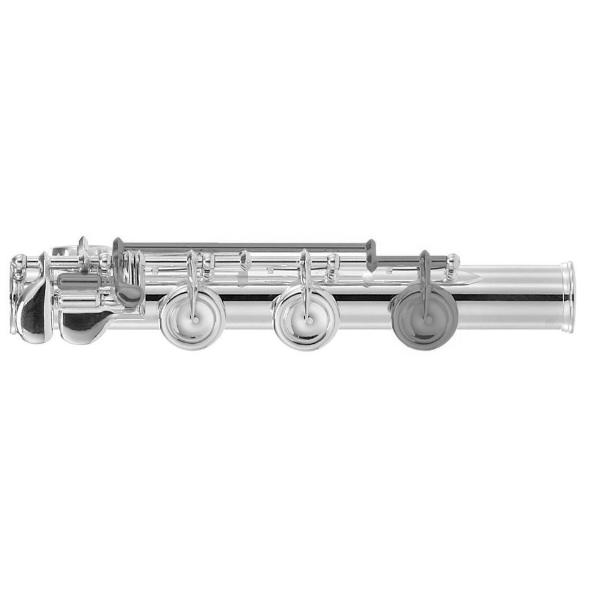
Before we start assembling, let’s familiarize ourselves with the main parts of your flute:
Headjoint: Contains the embouchure hole where you blow air into the flute. Body: The longest section with keys attached. Footjoint: Attaches to the body and contains additional keys.
Assembling Your Flute Step-by-Step
- Hold the Headjoint: Grip the headjoint in your left hand near the open end.
- Handle the Body: Hold the body of the flute in your right hand, ensuring you grasp the end without keys to prevent damage.
- Connect Headjoint and Body: Align the barrel end of the body with the open hole end of the headjoint. Gently twist the two components together until fully connected.
- Align Embouchure Hole: Ensure the embouchure hole aligns with the line of keys on the body. Adjust as needed by gently twisting.
- Attach the Footjoint: Firmly grasp the footjoint with your right hand and gently twist it onto the body, aligning the footjoint rod with the middle of the bottom key.
Disassembling Your Flute
- Twist to Disconnect: Separate the headjoint and body with a gentle twisting motion.
- Detach the Footjoint: Similarly, disconnect the footjoint from the body.
Cleaning Your Flute
Regular cleaning is vital to maintaining your flute’s condition and sound quality. Follow these steps:
- Use a Cleaning Rod: Thread a lint-free cloth through the cleaning rod and gently insert it into the flute’s components, spinning as you remove to wipe away moisture and debris.
- Handle with Care: Always grip the flute’s body without keys to avoid damaging delicate mechanisms.
- Use a Pad Saver: Insert a pad saver into the flute body to absorb excess moisture.
- Store Properly: Place cleaned flute components back into the case and close securely.
Handling your flute requires care, but it’s simpler than you think! Always handle it gently, and remember to twist components together and apart with care. Now that you know how to assemble and care for your flute, you’re ready to hit those high notes with confidence!